Hi,
If you are reading this, thank you for still being here and not having given up on me completely. I wouldn’t have blamed you if you had though, it’s been absolutely ages since I blogged or made regular YouTube videos. Not for lack of creating, but because I have only had the energy to do the bare minimum to get my work done and then it’s been back to trying to stay afloat. Mentally, physically and emotionally I felt like I was being ground down by life and lots of things that happened one after the other in the last couple of years. In all honesty, 2023 nearly finished me off and it all became too much. Something had to go, and the blogging and video editing was the first to give.
As my mental and physical health declined rapidly, I had little choice but to take stock of what’s important and make some serious changes to my life style and the choices I make for the sake of my health and sanity (or what was left of it at that point)

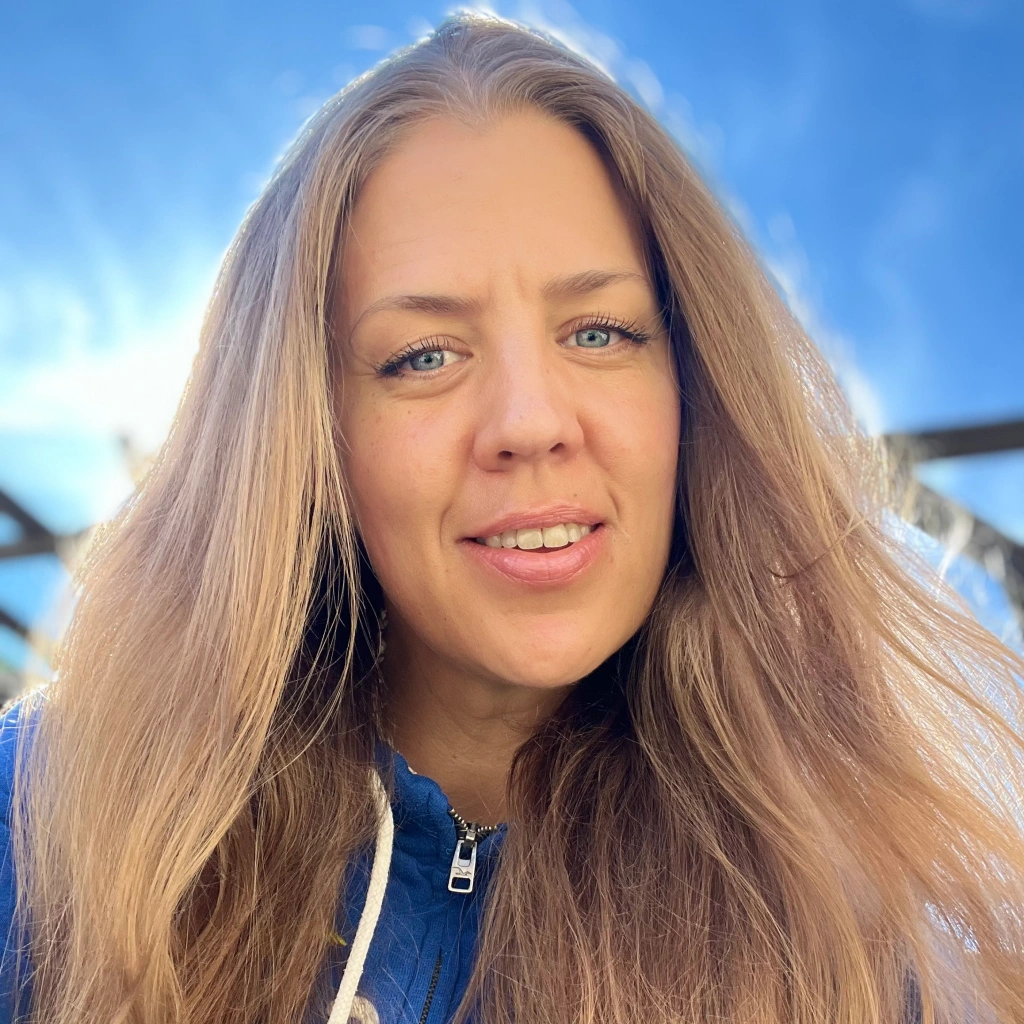
These two photos are taken about a year apart, the one on the left in 2023 and the one on the right in 2024. While I am well aware that the lighting in way better in the photo on the right, I can still see a huge difference in myself. Maybe because I also know how much of a front I was putting on in the photo on the left. The smile doesn’t reach the eyes, and the smile itself is a bit forced and not quite right. In the photo from this year I look so much more relaxed and at peace, which is huge. There is also a weight difference of around 17kg/38lbs in the photos.
How did I achieve this massive difference in just one year, while struggling you might ask? It started small with implementing a few good habits to do for myself every day, the first one was as simple as brushing and flossing my teeth every day. You might think that’s silly, everyone does that every day, but when you are tired to the point of exhaustion and nothing really matters, you don’t always do that.
I wear a wellness tracker ring day and night, called OURA, and while I have had it for years, I really started paying attention to the data it presented me with every morning. How well had my body recovered and rested during the night? On days when it said I was not well-recovered, I took it easy and it was easier listening to this than my actual body for some reason. If you want to try this ring out for yourself, you can take 40 Euros off your ring with this referral code (it’s only valid for 5 referrals so if you want to try it out, don’t wait around too long)
On top of reading and evaluating the data I also started inputting notes and tags on almost every day. Almost like a diary, and being perimenopausal it helped a lot understanding why my rage was to high some days and why some days I could take just about anything the universe threw my way. It was so helpful, and also a bit validating knowing that sometimes I had very little control over what my own body did to me and my mood. Having said that, this perimenopause stuff? It is hard AF.
I started looking around for advice on what to do and how to cope, and came across a OBGYN on Instagram called Dr Mary Claire Haver who’s made it her life’s mission to help women get through perimenopause and menopause with as much support and help as possible. I also came across Michelle Leframboise who has done the same thing, only focusing on fitness and wellness. She recently launched The MenoFit Method which is a wellness program focused on women hitting perimenopause, with lots of great advice on how to avoid injuries (because perimenopause doesn’t suck enough on its own, but we are more likely to get injured and take longer to heal)
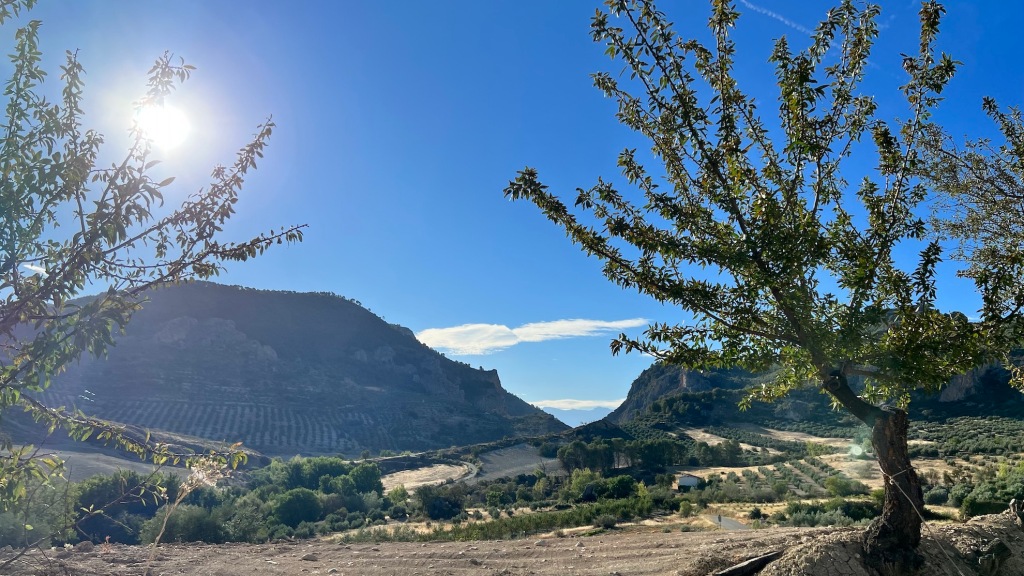
Going for walks with my little girl gang made a huge impact on my mental health as well, it really can not be underestimated what a wonderful effect nature and pets have on your mood.

It does help that I live in a really stunning area. Seeing these views every day is like a balm to my soul, it really is. Speaking of the Cheeky Chicas, we mustn’t forget Tiny Tina. It’s rapidly coming up to her 1 year anniversary being part of the girl gang!!

I added in a simple face wash and skin care routine as a little self care at the end of each day, and when that was easy, I started do to a little morning self care routine too.
I love products from The Inkey List, especially their hyaluronic acid cleanser, hyaluronic acid serum and SPF. It’s one of the few that doesn’t make my eyes sting.
To help my sleep, which was atrocious, I started listening to a sleep mediation thought the Oura app every night . When that started to help me feel more rested, I set an alarm to get up around the same time every day. Intermittent fasting also helped with my sleep quality, and it even helped with the routine of eating at more regular hours.
A bit later I added a shower each night where I used scrub gloves from The Body Shop to get my blood flow going and help my lymphatic system flush out whatever toxins and rubbish I had built up in my system. Getting rid of dead skin cells and moisturising every day is also a nice mental cleanse as well as a physical one.

As I could feel the difference a sleep mediation made for me, I added in a morning meditation into my routine. When the weather is nice I do this outside to get some sunshine and vitamin D.
The biggest, and most important thing I did for myself though, and I can not over emphasise this enough, was rewiring my thinking from ‘why can’t I do better’ to ‘I’m doing the best I can and that is enough, no matter what ‘my best’ looks like on a day to day basis’. Being kind to myself in all aspects, instead of treating myself like I’m a failure or someone not worthy of putting time and effort into, I have worked so hard to embrace myself as I am and love myself. These days I feed myself like I love myself, rather than punishing myself with calorie restrictions and hardcore workouts. I have tried that and it doesn’t work for me. Not long term, not healthily and it was definitely not sustainable. I needed something that fuels me and doesn’t stress me out. I might just have found what works for me, and I’m so much happier and healthier for it.
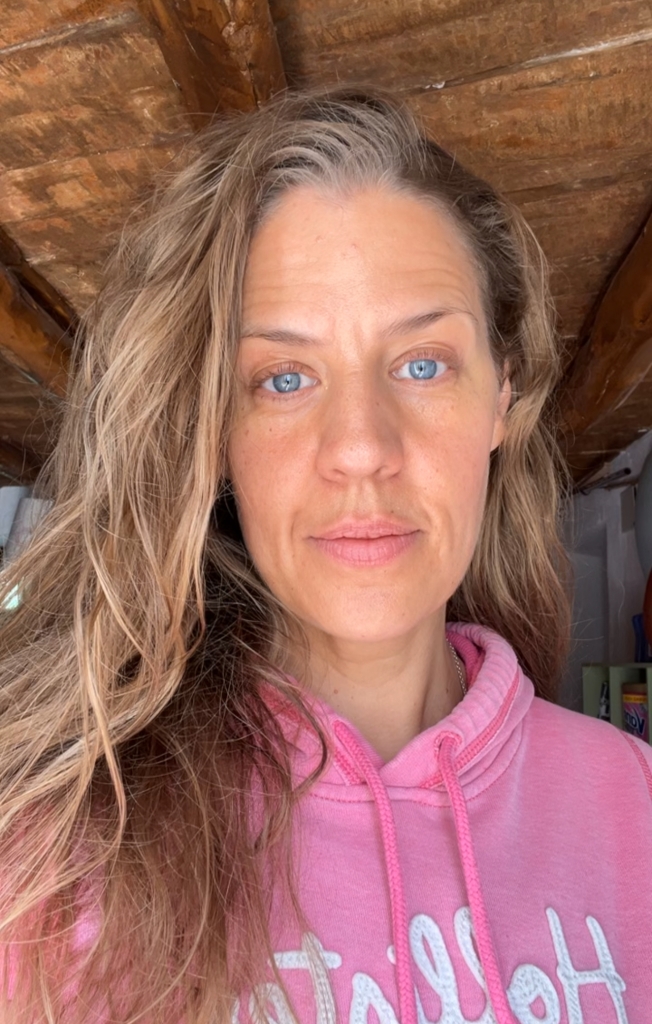
This is me, no makeup and no filter, at the age of 44, almost 45. I am feeling like I finally fit my skin if that makes sense? I have done a huge amount of work on my inner self and it feels like my inside and outside match now. It’s a remarkable and powerful feeling. I wish all women would find this feeling, and much much sooner than I did. It would be totally amazing if we could infuse girls with this feeling when they are little so they can reach their full potential sooner. I think the world would be a much better place if we could do that.
The last couple of years have also been a bit of an awakening for me, I don’t know if it’s got to do with hitting perimenopause hard, and having to realise that I’m not getting any of the gone years back. I am so ready to embrace life and live life to it’s fullest potential (bank account allowing, lol) I used to think that after 40 it’s all downhill, but I have actually found that I am more full of life now than I was in my late 30’s. The saying that women find themselves after 40 when they have no more F’s to give feels more and more like a mantra. You don’t like what I’m doing? That’s ok, I do so I’m going to keep on doing it. Life is too short to worry about what others think and how someone is going to react to you doing what is best for you, so go and do it. If it makes you happy, just do it! If that means dancing in the street when you hear a good song, do it.
I would rather regret something I did (think ‘remember that time we just packed a bag and went to the airport without a plan of where to go, just to go somewhere’), than something I didn’t do (like chase after my dreams and hopes for my life) when I’m laying on my death bed. Although if you suggest diving with sharks or something to do with heights, I’m good LOL! Those kinds of things I’m ok with “missing out on” for sure.
If you are still reading this, have a cookie! You are a star! I wasn’t lying when I said it was a bit long winded, right? It felt like it needed to come out though, so that’s why I’m sharing this. I also know that when I have shared about my struggles on social media, the outpouring of love and support as been totally overwhelming. So many people have said they feel exactly the same, they are in the same boat and it made them feel less alone hearing that someone else knows what they are going through. That’s not to say we want others to feel bad, but there is a solidarity in knowing that it’s not just me struggling to manage life, responsibilities and expectations.
Ok, so part of the whole BIG NEWS thing are a couple of things actually. I have recently joined the Altenew Design Team, and I’m very very excited about it! You can check out my first blog post as part of the DT by CLICKING ON THIS LINK.
I have also launched a new website, www.ericaabdesigns.com, where I will be sharing all sorts of stuff from now on, not just card making. It’s still a work in progress so please bear with me. When I get time and the technology knowledge pinned down, I will be adding destash boxes of crafting goodies I no longer use for various reasons, some paintings and sketches, little bits and bobs I make etc etc.

The goal is to be able to live off what I make as an artist, which I know is a long way off, but every journey starts with a single step so here I am, taking small steps towards that goal. If you want to be part of this journey with me, and maybe do it for yourself too, come along. I strongly believe that we rise quicker by helping each other out.
Next week I will also be setting off for the US for a three week trip, where I will be attending a couple of crafting expos. The first one is in Orlando April 12th until 13th, and I will actually be teaching a few classes there! Two Copic colouring ones and one doing water colouring with Karin Markers. If you want to attend, the classes are only $59 each, and are a full hour of fun and Erica-isms.
Copic Floral Mastery Class on Friday April 12th at 3pm, is the one where we will blend, blend, blend to get super smooth and gorgeous colouring on a big floral image from Crafty Meraki. I will be using the Elegance stamp, but you can bring whatever floral image you want. The bigger the better, I say!
Die-Cut Drama: Copic Colouring with a Twist! is the class where we will be adding Copic colouring to diecuts to bring them to life.
Watercolor Wonders Floral Mastery with Karin Markers is the class for you if you have the Karin Markers but haven’t quite gotten to grips with them yet, or simply want to learn how to make the most of your markers.
I really hope I will see some of you there,
With love and light, creativity and sparkle, and massive hugs for still being here!
Erica